Razorpay Payment Integration for E-Commerce Websites in India: Complete Guide
UPI · Cards · Secure checkout · Laravel & custom stores · India

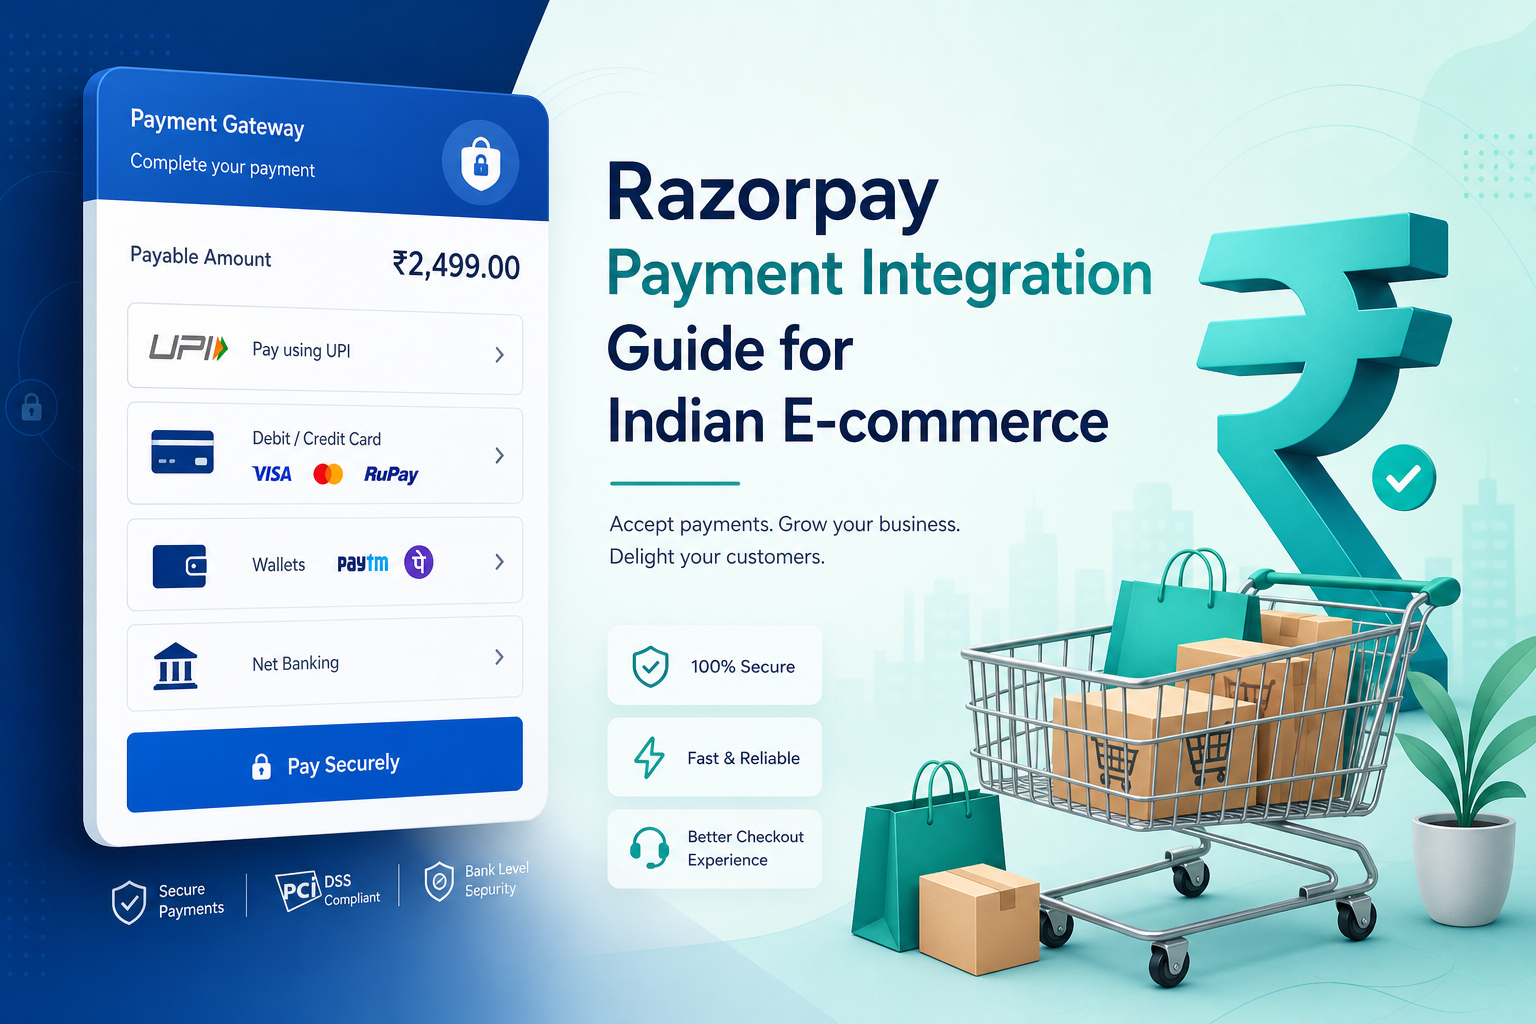
If you run an online store in India, customers expect UPI, cards, and net banking at checkout — not just “pay on WhatsApp” or cash on delivery. Razorpay is one of the most common ways to add those payments to a custom website or Laravel store. This guide explains how it works, what your developer must build, and how to go live safely.
At Web Developer Kashi (Varanasi), we integrate Razorpay on custom e-commerce projects — for example Threpsi Healthcare (Laravel + Vue + Filament admin). Related: e-commerce guide, Shopify vs custom, how to hire a developer.
What is Razorpay?
Razorpay is an Indian payment gateway. It sits between your website and banks/UPI networks. Customers pay on Razorpay’s hosted or embedded checkout; money settles to your linked business bank account (after KYC and Razorpay’s fee schedule).
Payment methods customers can use
- UPI — PhonePe, Google Pay, Paytm, BHIM, etc.
- Debit & credit cards — Visa, Mastercard, RuPay
- Net banking — major Indian banks
- Wallets — where enabled on your Razorpay account
- EMI / pay later — optional, subject to Razorpay product activation
For most SMB stores in Varanasi and across India, UPI + cards + net banking cover the majority of successful checkouts.
How Razorpay fits into your store (simple flow)
- Customer adds products to cart and enters address on your website.
- Your backend creates an order record (pending) and a Razorpay order with amount in paise.
- Razorpay checkout opens — customer completes payment.
- Razorpay returns
payment_id,order_id, andsignatureto your site. - Your server verifies the signature using your secret key — never trust the browser alone.
- Order marked paid, stock reduced, confirmation email/invoice sent.
Important: Payment is confirmed only after server-side signature verification. Skipping this step is a common security mistake in cheap integrations.
Razorpay on different platforms
| Platform | How Razorpay is added |
|---|---|
| Custom Laravel / PHP | Razorpay PHP SDK or REST API — full control over checkout UX and order logic (what we use on projects like Threpsi) |
| WooCommerce | Official Razorpay plugin — faster setup, less custom logic |
| Shopify | Shopify Payments or third-party apps — Razorpay may not be native; compare with Shopify vs custom |
What your developer should implement
- Test & live keys — separate Razorpay keys; test mode before real money
- Order amount match — cart total on your server must match Razorpay order amount
- Signature verification — on payment success callback
- Webhooks — handle delayed/failed payments and reconciliation
- Idempotency — don’t mark the same payment paid twice if user refreshes
- Admin panel — view orders, payment status, refund workflow if needed
- Invoices & emails — PDF + email after successful payment
- HTTPS — SSL required on production domain
Razorpay account setup (business owner checklist)
- Create Razorpay business account at razorpay.com
- Complete KYC — PAN, bank account, business details
- Activate required payment methods (UPI, cards, etc.)
- Share API keys with your developer (Key ID + Secret) — secret stays on server only
- Run test transactions in Test Mode before switching to Live Mode
Fees and settlement (overview)
Razorpay charges a per-transaction fee (varies by payment method — UPI often lower than cards). Settlement to your bank follows Razorpay’s schedule (typically T+2 or as per your plan). Exact rates change — check Razorpay’s official pricing page when you sign up. Your developer quote should include integration work, not Razorpay’s transaction fees (those come from each sale).
Razorpay + coupons, COD, and mixed checkout
Many Indian stores offer Razorpay + COD together. Your backend should branch: online pay → Razorpay flow; COD → order pending until dispatch. Coupons must reduce the amount before creating the Razorpay order. On custom Laravel stores we also handle stock checks and minimum order rules at checkout — see our Threpsi case study.
Common mistakes to avoid
- Putting secret key in JavaScript or mobile app code
- Marking order paid without signature verify
- Using live keys on staging site (or test keys on production)
- No webhook — lost payments when user closes browser after pay
- Cart amount calculated only in frontend (always recalculate on server)
- No order confirmation email — customers panic after paying
Real project example: Threpsi Healthcare
On Threpsi Healthcare we built:
- Vue storefront checkout → Laravel API
- Razorpay prepare → pay → verify flow
- Order numbers (THR- format), stock check, PDF invoice + email
- Filament admin for orders and Razorpay settings

Go-live checklist
- KYC complete, Live Mode enabled
- Live keys in production .env (not in Git)
- Test: UPI + one card payment on real domain with ₹1–10 test if allowed
- Webhook URL registered in Razorpay dashboard
- Order emails and admin notifications working
- Refund process documented for support team
- AMC / maintenance planned after launch

FAQs — Razorpay for E-Commerce in India
Quick answers to common questions. Still need help? We’re just a message away.

WhatsApp, email or a call — pick what is easy.
Conclusion
Razorpay integration is essential for serious Indian e-commerce on a custom website. The hard part is not opening a Razorpay account — it is building a secure order flow, admin tools, and support after launch. If you are planning a store in Varanasi or anywhere in India, share your requirements — we can scope Razorpay + Laravel (or your stack) clearly.
“Customers trust UPI at checkout — but they trust your brand when payment, email, and order status all work together.”